For some time now I have been selling converted cameras with a special built-in filter that lets through visible light and only a portion of IR. This opens up new IR false color styles that are not available anywhere else. However, I always get questions from buyers about how to process the images.
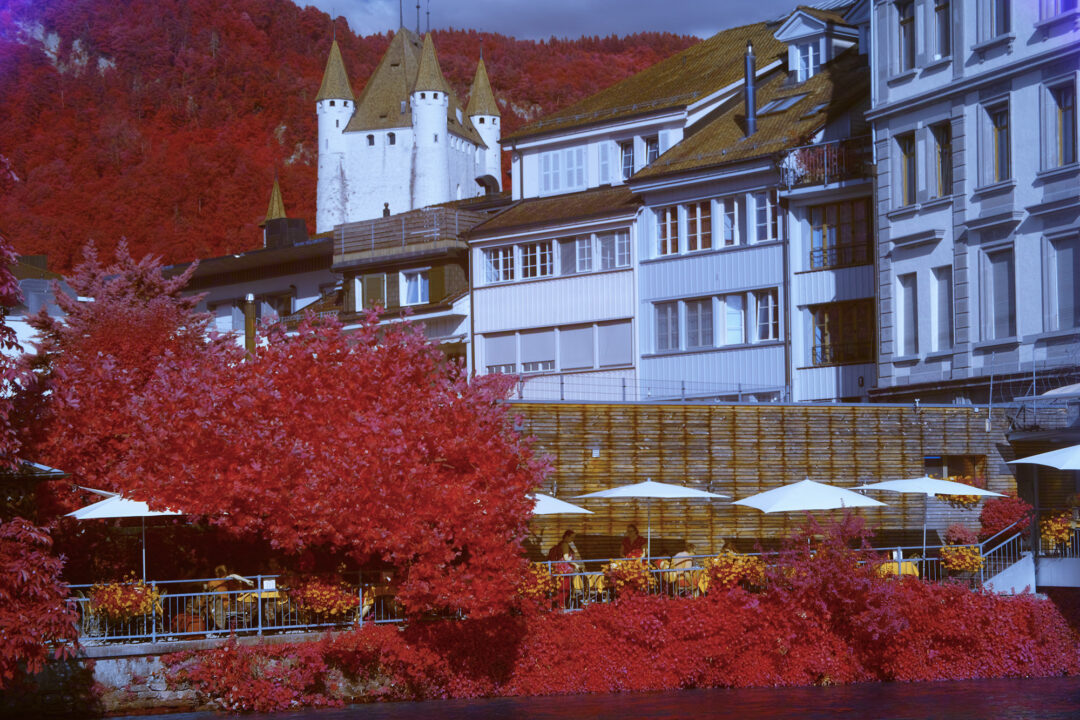
With most of my styles, this question doesn’t arise because they don’t require any post-processing and you get exactly what you see on the camera screen in the preview – provided you’ve done a custom white balance. This applies to Blue Trees, the IR Chrome alternative, Candy Pink, etc.
Tip: The CWB does not always work with a neutral surface. If that doesn’t work, just try different things: overcast sky or a general shot of the surroundings.
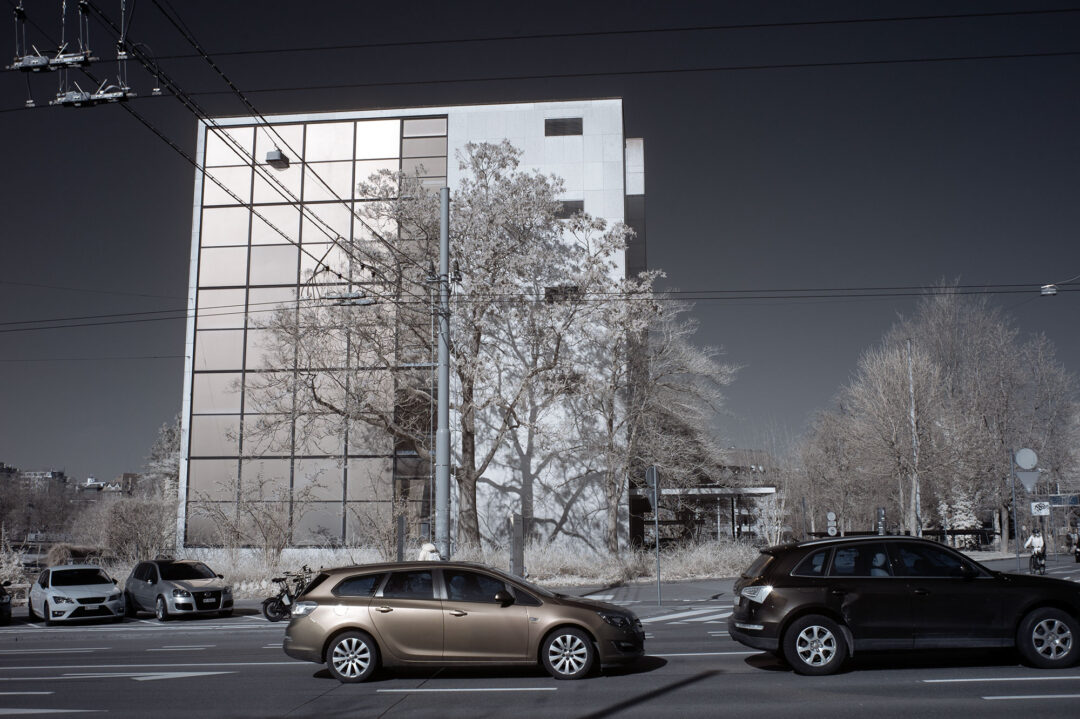
The only style that requires some post-processing is my digital Aerochrome.
Here is the short step-by-step guide:
This is what the photo looks like straight out of the camera:

1. Use Photoshop or RawTherapee (free and great).
2. Select white balance on neutral (like asphalt). It should be around 2200 and 2300 Kelvin.
3. Select the channel mixer and just change the values R (0/0/100) G (100/0/0) and B (0/100/0). Please note: This is not the usual red-blue channel swap as with 720nm, but a different one.
4. If the white balance is not yet optimal, you can readjust it in the raw editor.
Very easy! Here’s the result: