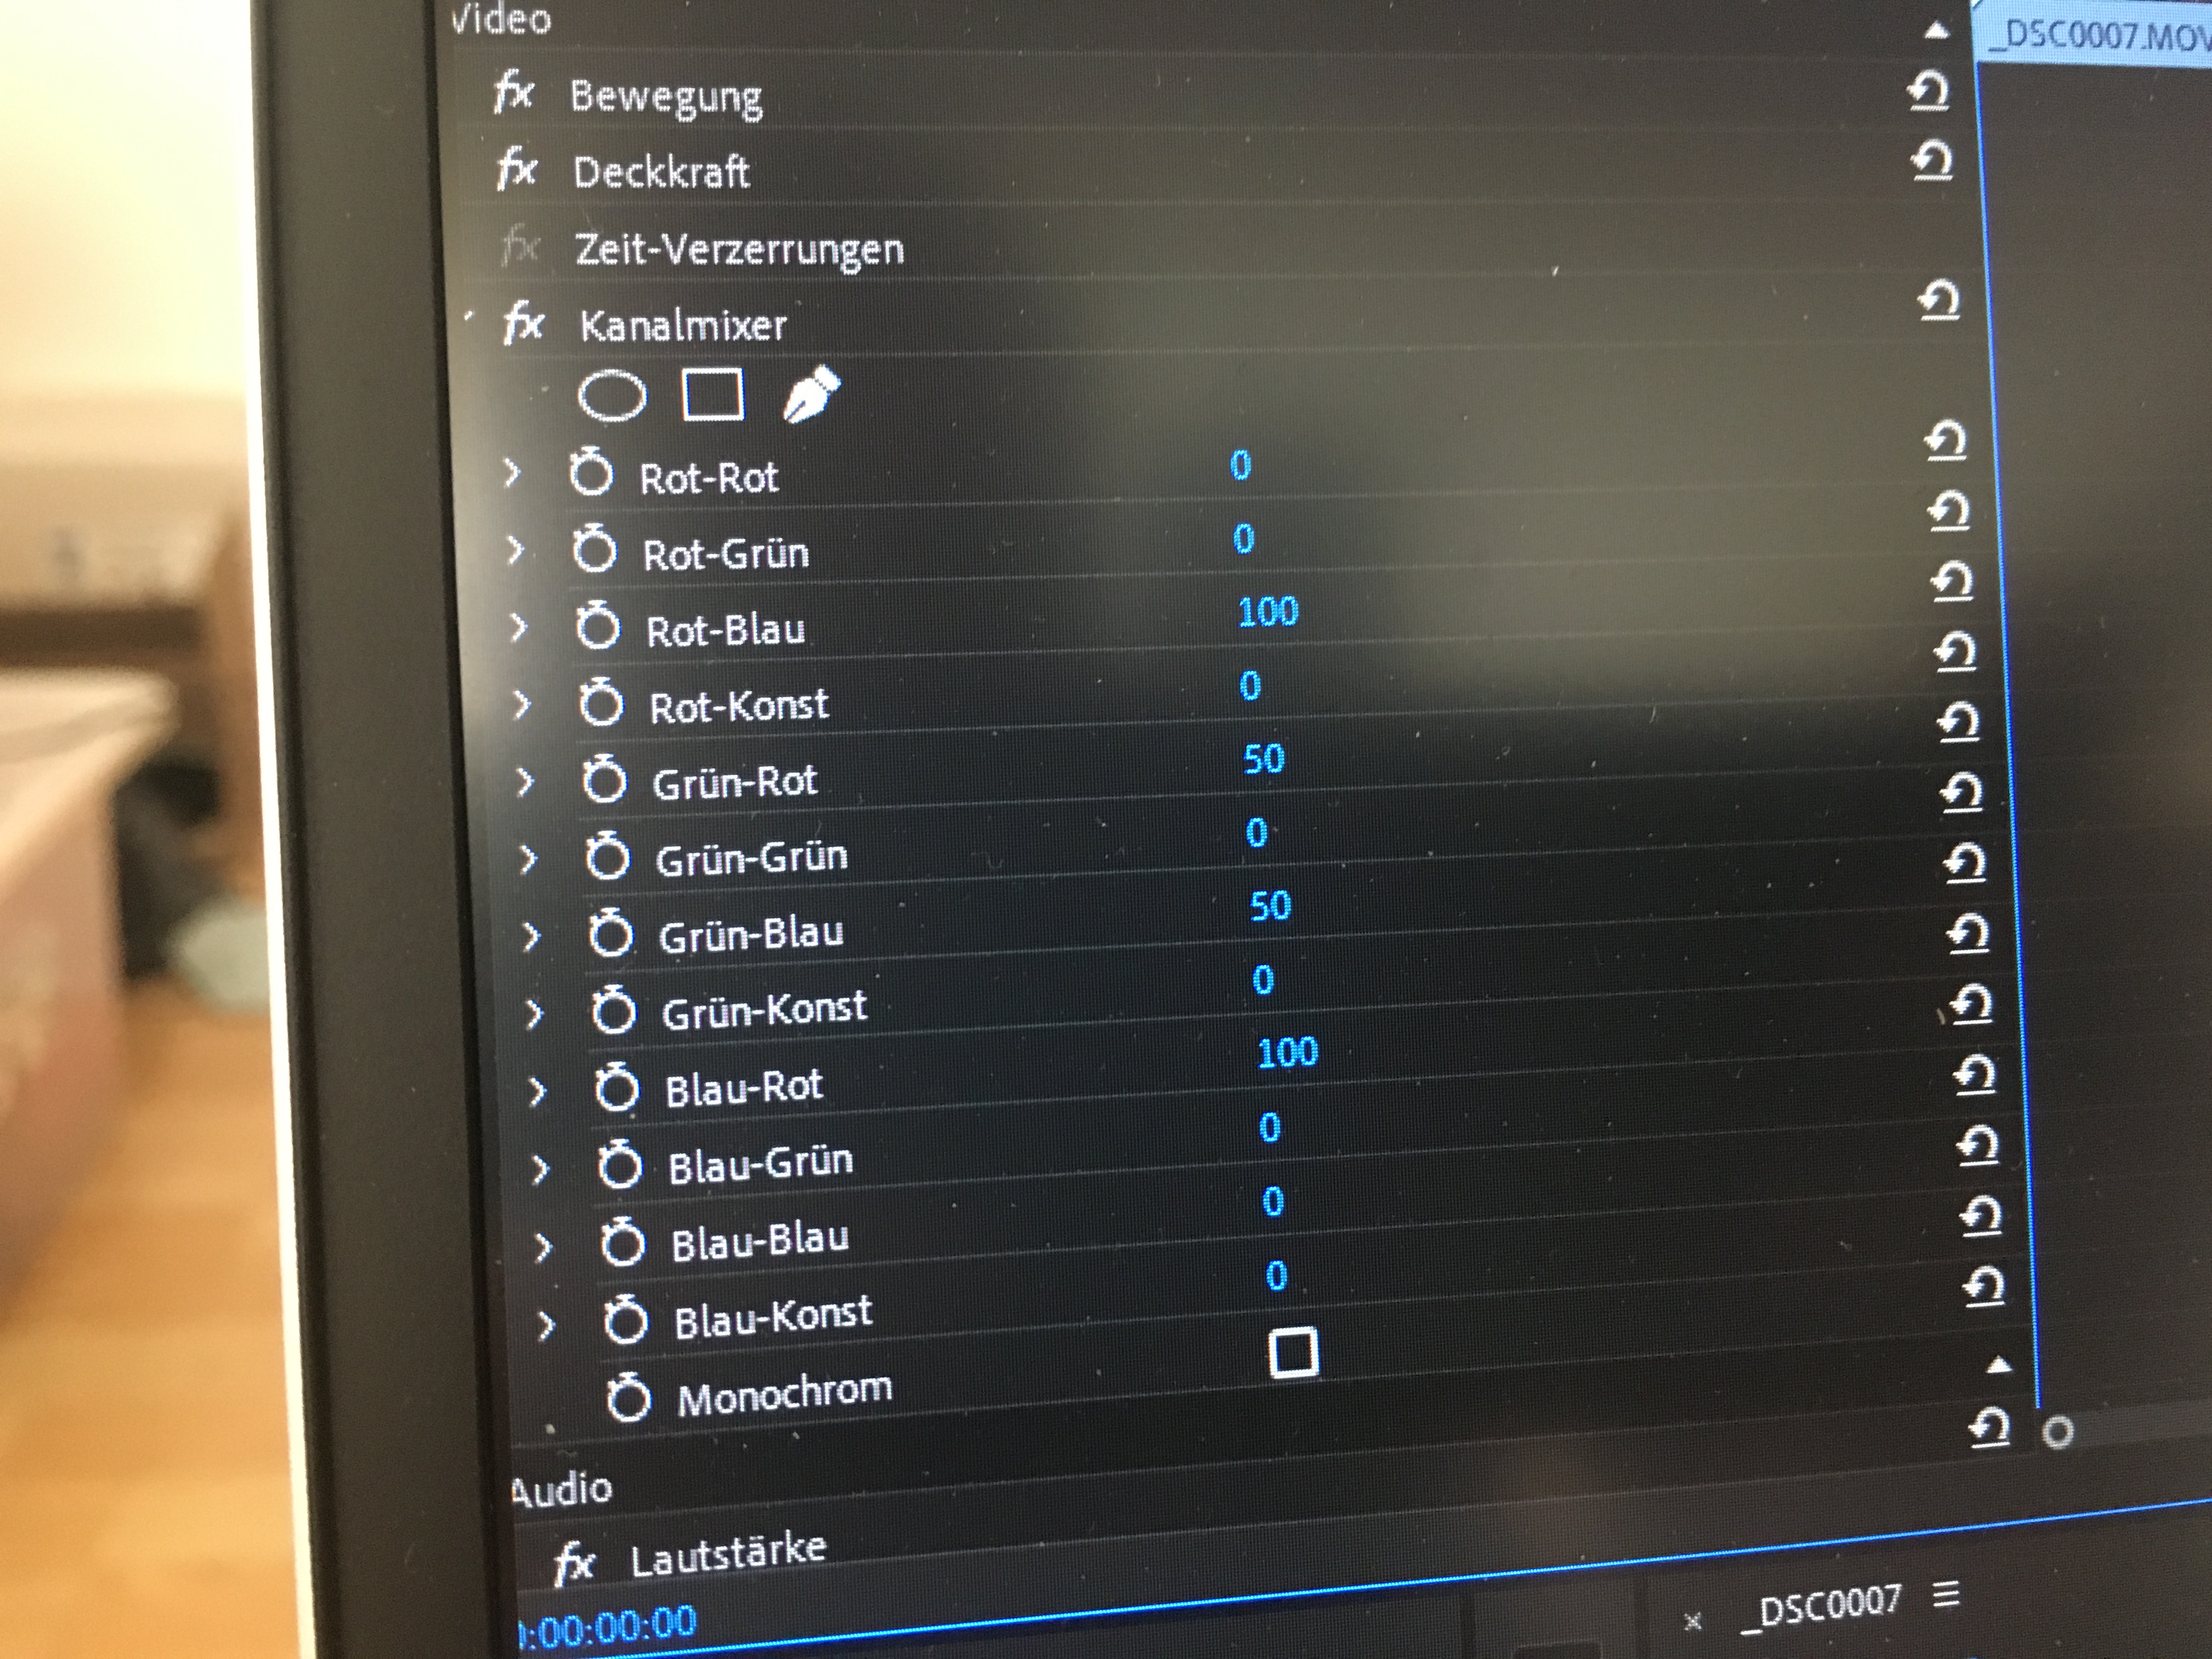
The channel mixer is perhaps the most important tool when processing a typical IR image (720nm). Using Adobe Premiere we can swap the red and blue channels to change the brown sky for a dark blue one.
Although the following manual is pretty long, there’s actually not a lot to do, provided that white balance is set accurately before filming. Once you know what to do, the following steps will take you 10 minutes or even less. That’s all I spend for image improvements in post-production.
There are 3 steps. Taking the example of a typical infrared filter, the R72 by Hoya, I would like to explain these in detail now. I pass those steps with the help of 2 editing programs: Adobe Premiere and the standard Apple iMovie software. Probably you can do this with other software as well.
Here’s what I do:
1. Optimize white balance in Premiere
2. Use the channel mixer in Premiere
3. Further optimize white balance and add some contrast in iMovie
So let’s explore the process more closely.
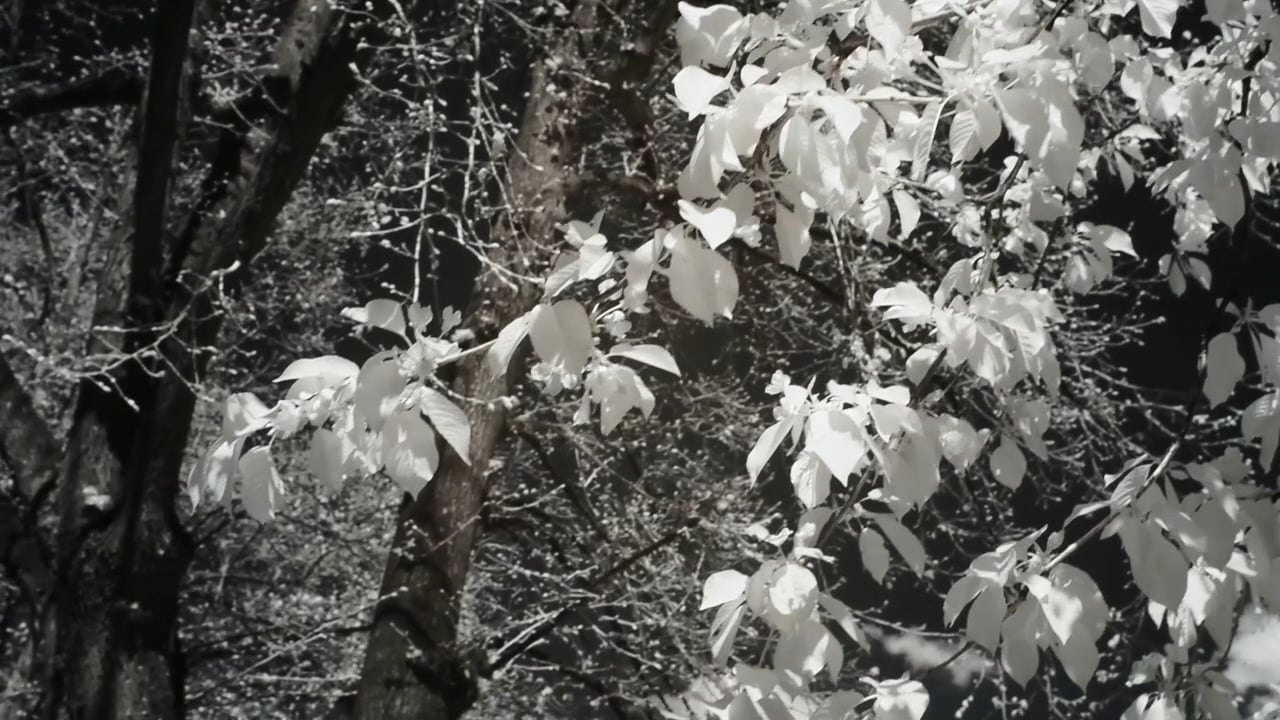
After I’ve transferred my videos to my laptop (and saved them), I open Adobe Premiere and load a clip that shows grass or leaves. It looks like this:
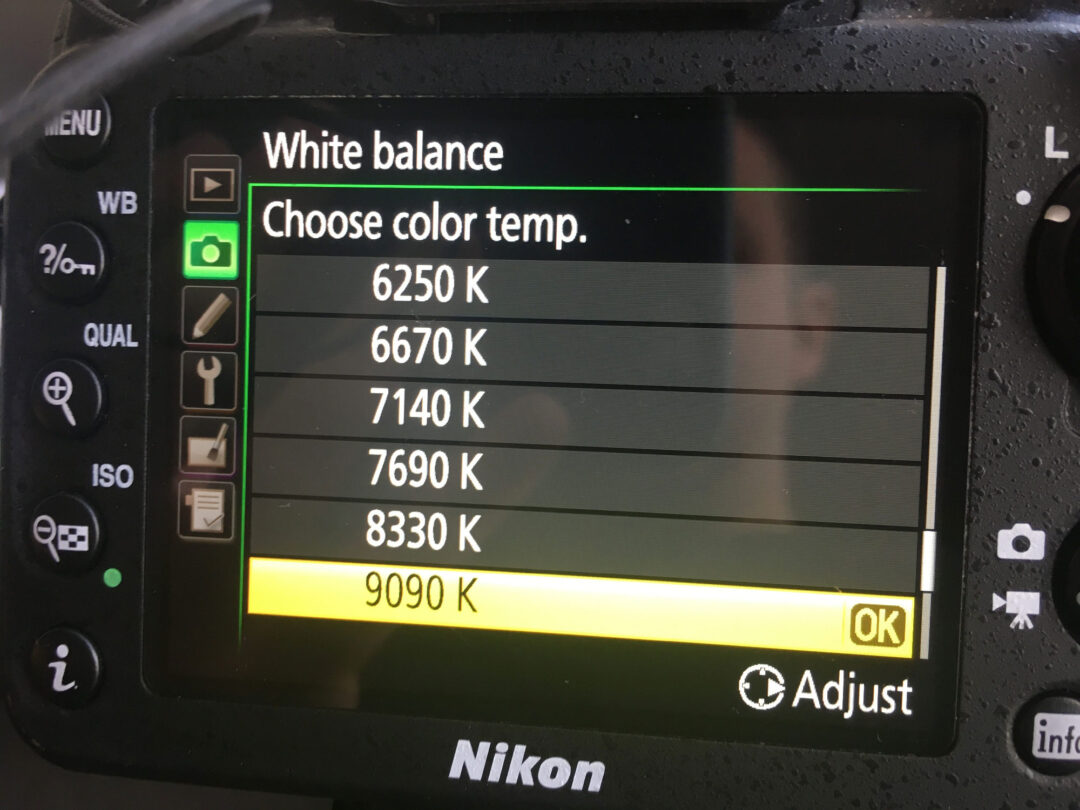
I want to optimize white balance now, so I go to the section Effects, then Lumetri Color, then Basic Correction, choose the White Balance tool and apply it to a leaf or blade of grass in sunlight.
So white balance should be good now. Maybe write down the values in Temperature and Tint so you can just type them in when you process the next clips.
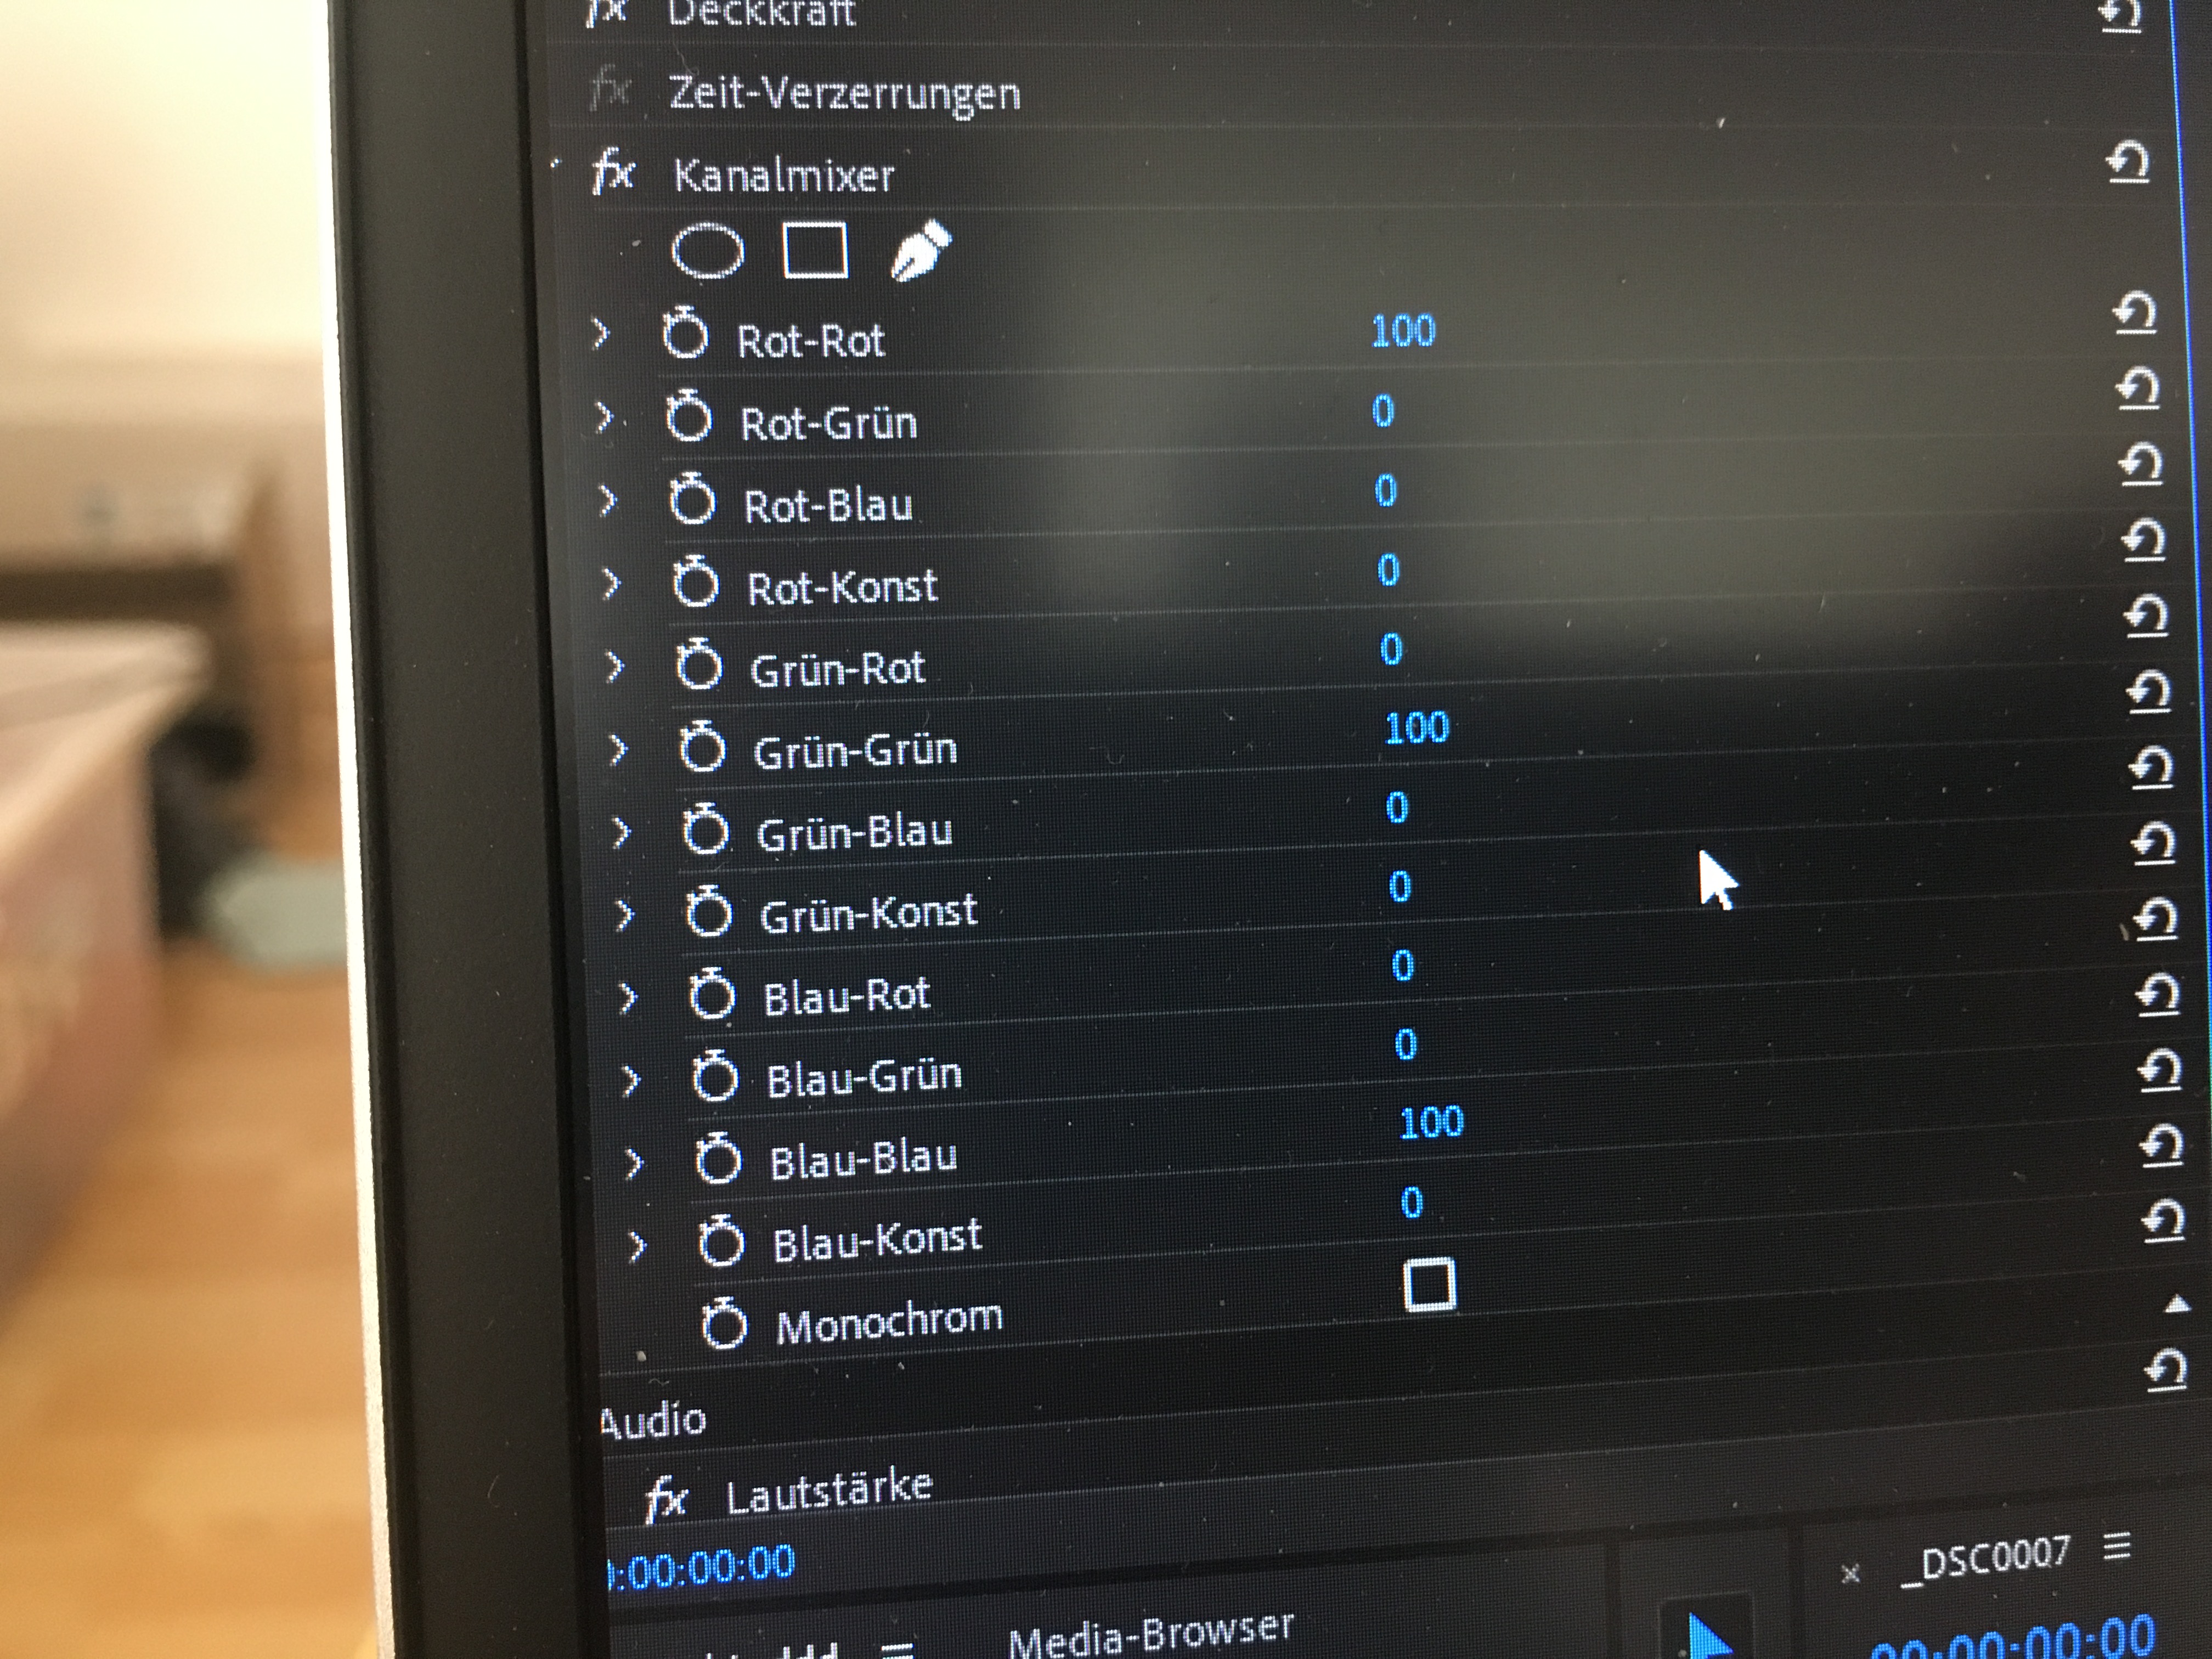
Next step is essential for most IR videos: The color channel mixer. Go to Effects, Effects, Video Effects, Color Correction, and select the Channel Mixer. The values should look like this:
Now change them into this:
The video now has a dark blue instead of a brown sky, and everthing looks more “natural”:
I now save/export my video. A short note on the format: I’ve found H.264 to be the best and most usable so far.
2 steps are done, now the last one: I load iMovie and open up the exported video. So far, I’ve used this program also for cutting and assembling videos, because it’s much more beginner-friendly than Premiere. But you can’t do channel mixing with it.
I now further enhance white balance and add some contrast via Color Balance and Color Correction. That’s all. As you can see, I’m a big fan of minimal post-processing. It will save time and look authentic in the end.
Here’s the final result: