
There are a number of myths and misconceptions about infrared photography:
– An IR photo looks best when taken on a bright, sunny day around noon.
– IR cameras can take pictures in complete darkness
– A fake IR photo can be easily created with Photoshop.
– “Aerochrome” cannot be reproduced with digital cameras
And here’s another very persistent myth about infrared photography: you can’t achieve the classic digital IR look (white trees and blue sky) with Sigma cameras because they have a completely different sensor than Canon or Nikon (Bayer).
But the fact is: you absolutely can! The reason why this myth is so persistent? These days, no one really tries anything out for themselves. It seems like everyone just listens to what other people tell them on forums and Facebook groups.
Thanks to a photographer/mountaineer named Tom aka tagscuderia, I’ve started experimenting with the Sigma Photo Pro (SPP) software. As described in previous posts, I wanted to achieve a faithful recreation of “Aerochrome”, Kodak’s old false-color IR film that is no longer made. This photo by Tom, taken in the Pyrenees, inspired me to go that route.
While experimenting with my red filter (25A) and SPP, I found that you can edit your raw files to the point where you can achieve yellow or white vegetation in your IR photo in Photoshop using the Channel Mixer tool (standard tool for IR photographers). This is actually quite simple if you know what to do.
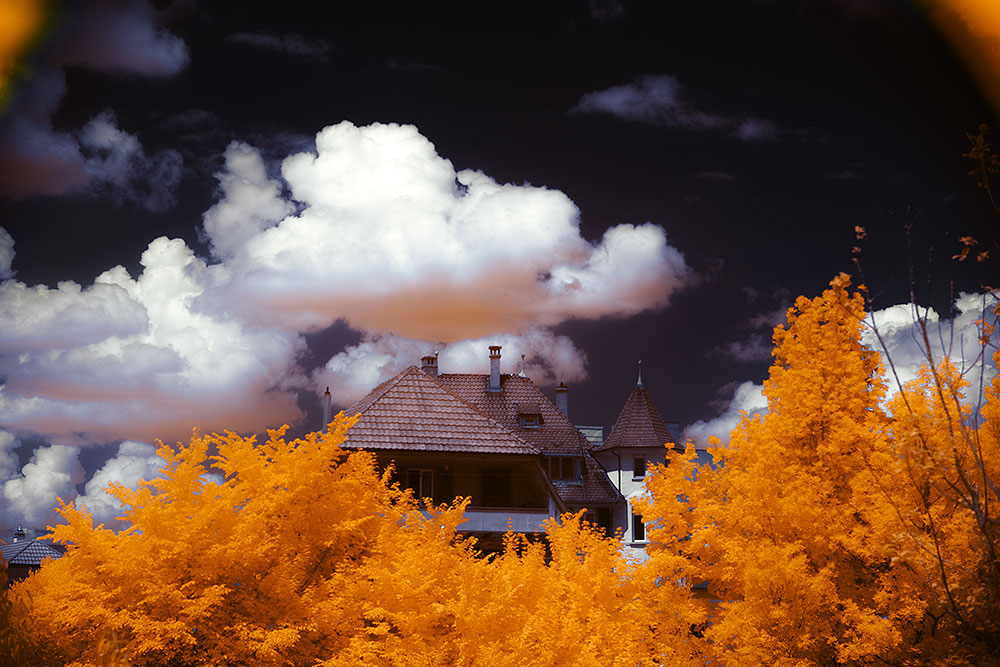
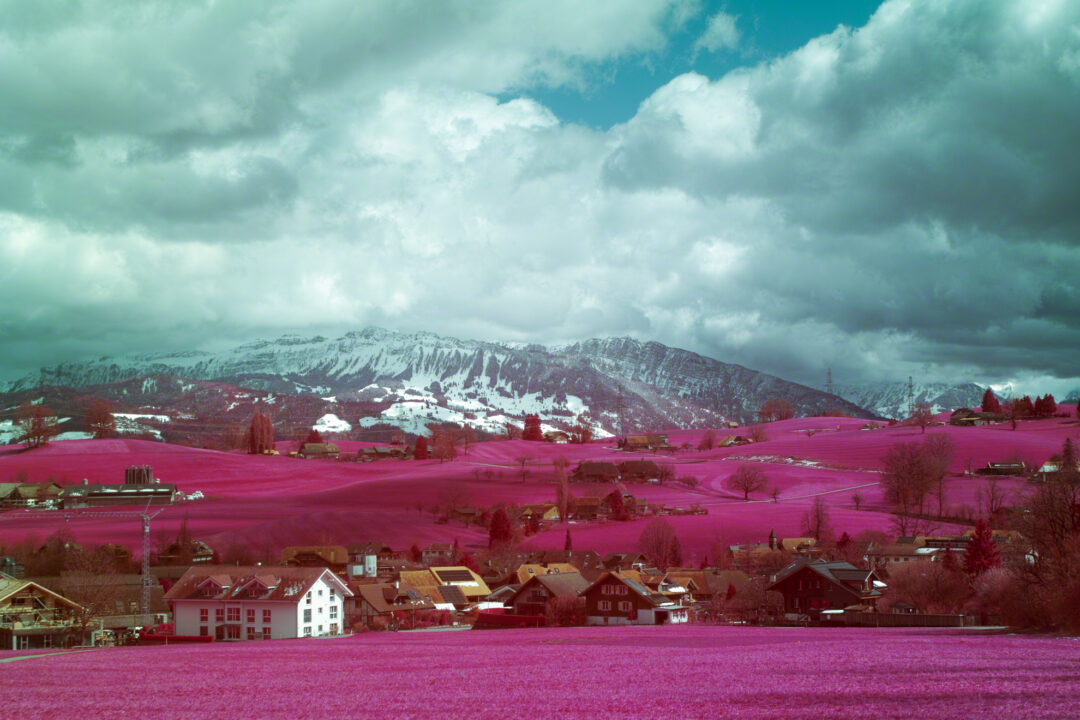
Here are some preliminary results:


And here are the settings in SPP to achieve the different color styles with the 25A filter:
Red vegetation:
White balance: Manual (Custom white balance on white card without filter on – just full spectrum)
Color mode: FOV Classic Blue
Color matrix: G 0.0/A 0.0/M 22.0/B 86.0
Color fringe correction: 0.9/0.4 — 0.5/0.5
Yellow vegetation (you’ll need to do the channel mixing in PS afterwards):
White balance: Manual (Custom white balance on white card without filter on – just full spectrum)
Color mode: FOV Classic Blue
Color matrix: G 0.0/A 0.0/M 0.0/B 33.0
Color fringe correction: 0.5/0.5 — 1.0/1.0
Whiteish vegetation (same here: you’ll need to do the channel mixing in PS afterwards):
White balance: Neon
Color mode: Neutral
Color matrix: G 22.0/A 0.0/M 0.0/B 11.0
Color fringe correction: 0.9/0.9 — 1.0/1.0
5 Comments
So is the infrared recorded in other chanels than the red chanel ?
As far as I can see, the majority of IR goes into the red channel, but not only. Google “Foveon transmission curve”…
It is not clear to me whether the color mode is to be set in camera or in SPP. Since the 25A is specified as 580nm, would a more common 590nm filter make any difference in the result from these settings. I cannot understand the color fringe numbers and how they relate to SPP. Thanks for a reply.
I haven’t experimented with Foveon cameras in a long time. As far as I remember correctly, you have to do the WB in-camera – as it says above, without a filter on it. And Foveon Classic Blue too. Hmm. 580nm or 590nm shouldn’t make much difference. I don’t think anyone knows what the Color Fringe function does exactly. This is true for a lot of Foveon and SPP.
I have tried the LifePixwl dual band filter (UV/Blue and IR pass) on my SD Quattro H, with the hot mirror removed. After a run through Darktable, I get blue skies and Orange to Yellow foliage. No channel swapping necessary.