Ultraviolet photography is very exciting, I’ve written about it in previous posts. And finally I have also found an approach to it. But it took many attempts and patience.
First and foremost, it is important to have the right equipment for UV photography. That means: a lens that allows enough UV to pass through. A camera that tolerates high ISO values and does not produce IR leaks. And of course a UV filter that works. If all this fits and you also find the correct settings, then it’s really fun.
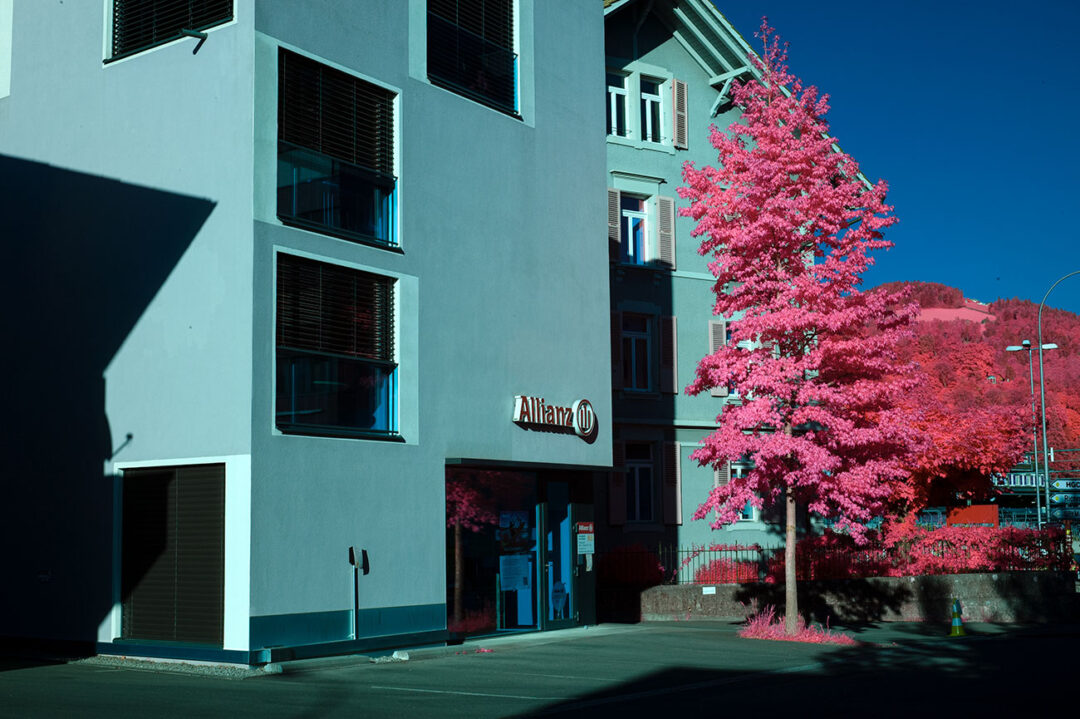
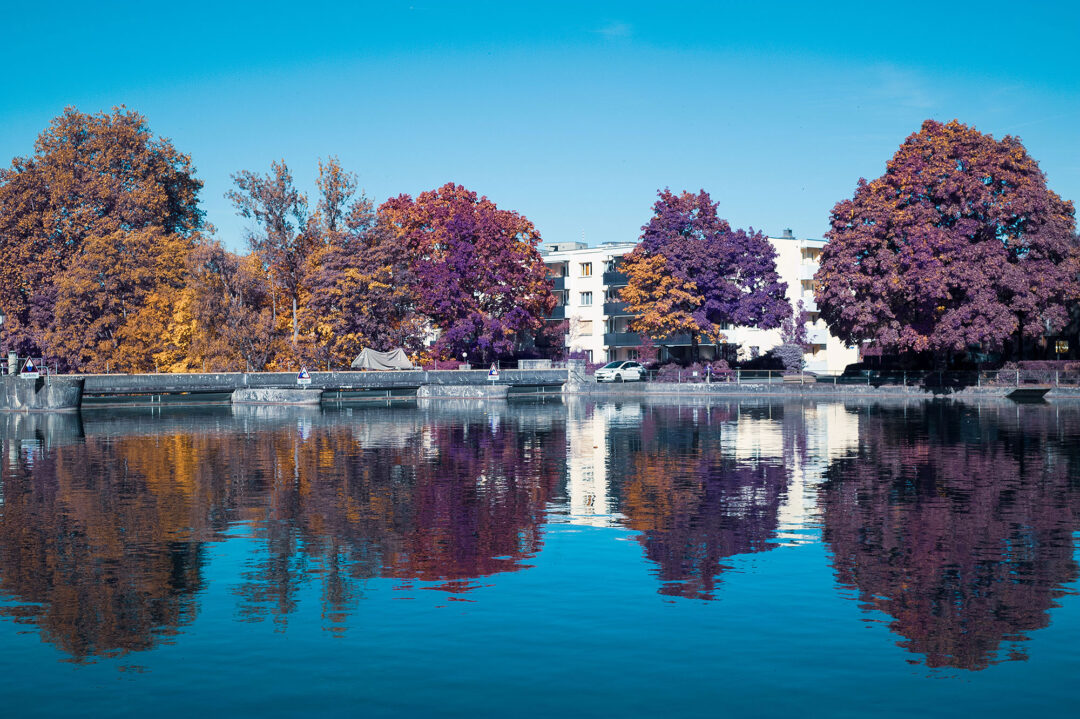
I like the antiquity in the images. Everything looks old and rusty. At the same time, the photos have a science fiction charm, something post-apocalyptic. But most of all I like that certain things disappear in UV light: Digital displays, for example, or street signs; even paint can fade. This peculiarity opens the door to interesting ideas.
It is recommended to always photograph in strong sunlight. I used a Nikon D600, an old Nikkor 50mm lens, and a filter combo of a UV filter (which allows some IR to pass, unfortunately) and two IR blocking filters. However, I recommend a one-filter solution if you have the budget. Kolari probably has the best option here.
I used the following settings:
Aperture: 5.6
Shutter speed: 1/40 to 1/60
ISO: 1250
You can forget about UV custom white balance with Nikons, unfortunately, so I shoot in RAW (I use a Custom WB for IR 720nm). In the Photoshop Raw Converter you see afterwards – if you select a gray area with the tool – that the Temperature and Tint sliders still move to the far left. So I open the RAW and from there go back again into the Converter and set the WB again. This way everything can be set colder and therefore more correctly.
Instead of black and white I choose the false color variant: Like with IR I swap the color channels red and blue. This results in this almost natural hue with rust tones everywhere where UV is reflected.