
The blue trees have kept me busy for some time. Whenever I went out, I used this ingenious filter combination to take photos. Now I’ve gone back to Aerochrome and the Triple Bandpass filter.
But I always get different results. Sometimes the sky is too magenta, sometimes the trees are too pink. I’m not a tech genius, and computers and software are more of a necessary evil for me than something I enjoy using. Maybe that’s why I’m a little incompetent.
But I have now looked closely again yesterday and today, rehearsed with different settings (in camera and post processing). I have come to the conclusion that it is best to leave out the subtraction of IR in the channel mixer and just process the photos with correct white balance and normal channel mixer operation.
Because it is exactly this subtraction that causes the colors to come out strange for me. You can control it a bit by underexposing strongly and brightening again after the channel mixer. You can also vary the amount you subtract from green and blue. But I’ve rarely been happy with the pictures.
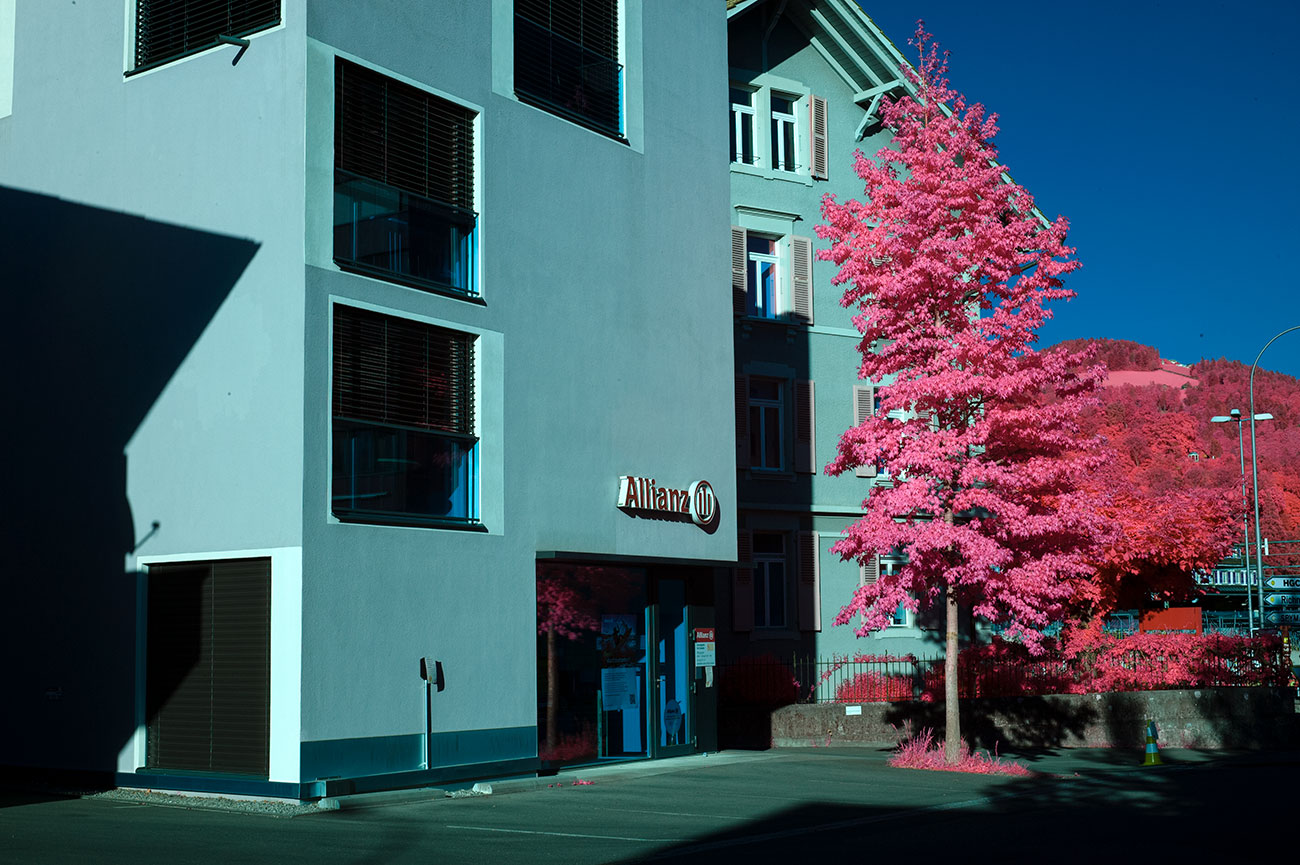
So back to the simplest and fastest solution, which in my eyes also creates the best results. I show the process for once with pictures. I used a Nikon D700, a 50mm lens and the Triple Bandpass Filter. Without additional filter.
Step 1: Directly from the camera into the Photoshop Raw converter. Select Vivid as preset. Adjust white balance. Either manually with these values or to a very dark neutral area, for example asphalt in the shade.

Step 2: Channel mixer, very simple. R (0, 0, 100), G (100, 0, 0), B (0, 100, 0). This is the result:

Step 3: Back to the Raw Converter. Adjust the white balance again. Done.

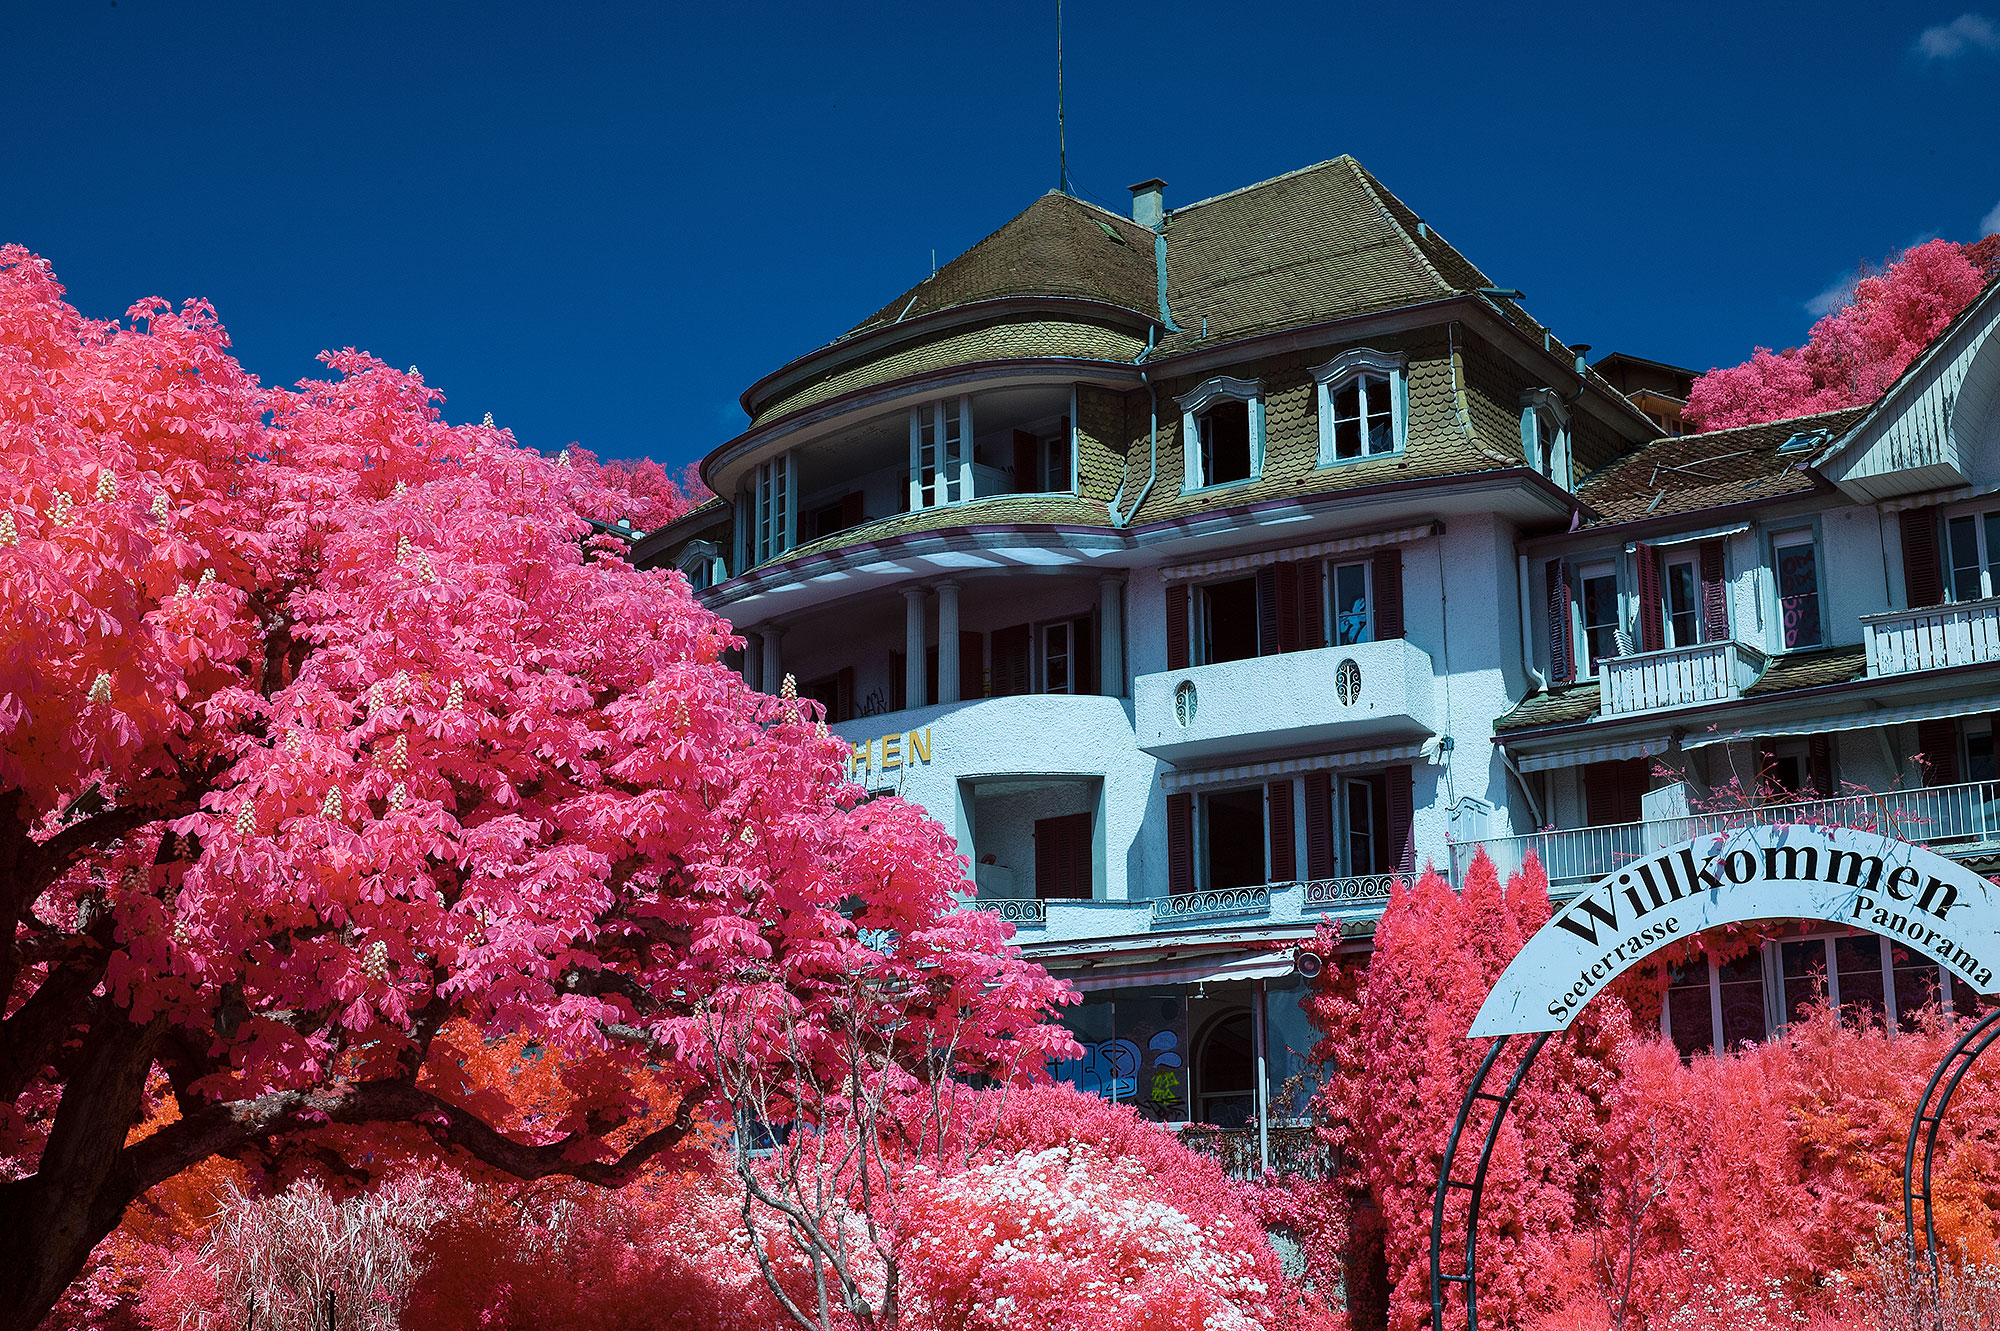
And these settings give consistent results, at any time of day. The picture above was taken in the evening, the following around noon.


2 Comments
Excellent blog keep up the good work
Thanks, Alex!